





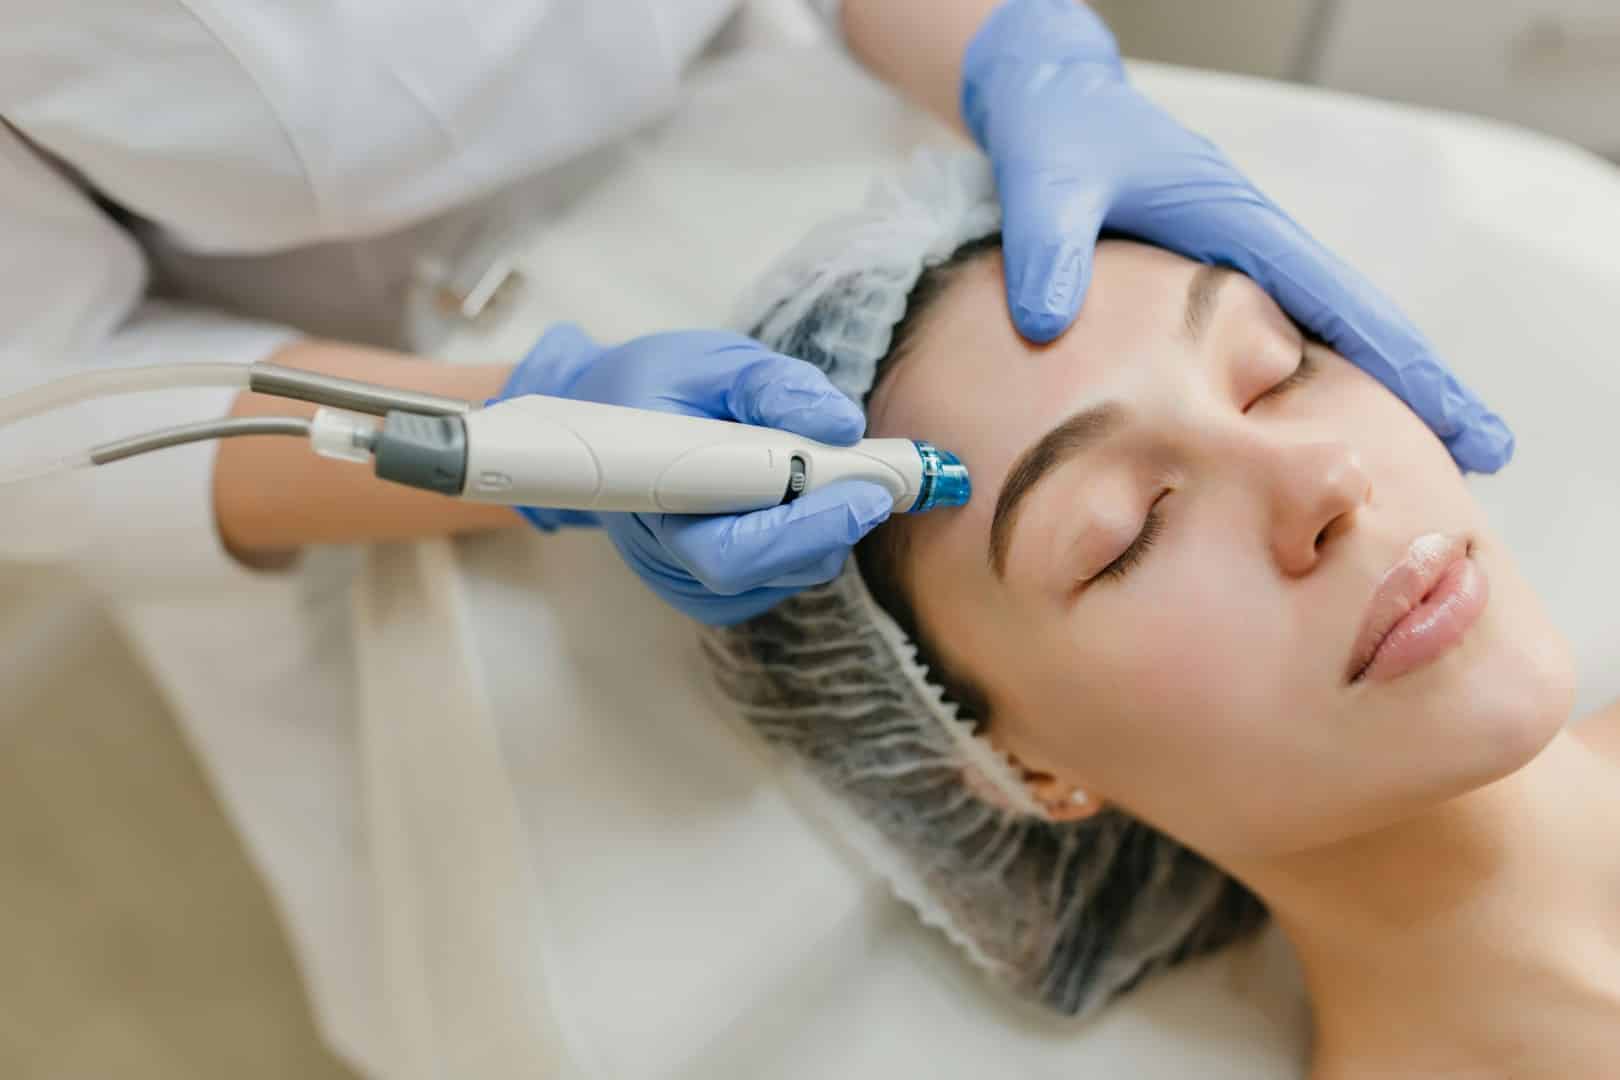
Microneedling has become one of the most sought-after skin rejuvenation treatments for people looking to improve their complexion without surgery or lengthy downtime. Whether you’re hoping to soften acne scars, reduce fine lines, minimize enlarged pores, or achieve smoother, healthier-looking skin, microneedling offers a clinically proven way to stimulate your body’s natural healing response.
Although the treatment itself is relatively straightforward, proper preparation, technique, and aftercare play a significant role in achieving the best possible results. Understanding what happens before, during, and after your appointment can help you feel more confident and ensure your skin heals properly.
In this step-by-step guide, you’ll learn how microneedling works, who it’s best suited for, how to prepare safely, and exactly what to expect during treatment.
What Microneedling Is And How It Works
Microneedling, also known as collagen induction therapy, is a minimally invasive cosmetic procedure that uses a device equipped with extremely fine, sterile needles to create thousands of microscopic channels in the skin. While these tiny punctures may sound intimidating, they are carefully controlled and designed to stimulate the skin’s natural repair process rather than cause damage.
When the skin detects these controlled micro-injuries, it immediately begins producing new collagen and elastin – the two structural proteins responsible for keeping skin firm, smooth, and resilient. Over the following weeks and months, this increase in collagen remodelling helps improve both the appearance and overall quality of the skin.
Unlike treatments that remove the outer layers of skin, microneedling works primarily by encouraging the skin to regenerate from within. Because the surface of the skin remains largely intact, recovery is typically faster than many laser or chemical resurfacing procedures.
Microneedling can improve a wide variety of common skin concerns, including:
- Fine lines and wrinkles
- Acne scars
- Surgical scars
- Enlarged pores
- Uneven skin texture
- Mild skin laxity
- Sun damage
- Hyperpigmentation
- Stretch marks (on certain body areas)
Although at-home microneedling devices have become increasingly popular, professional treatments remain the safest and most effective option because trained providers can customize needle depth, technique, and treatment protocols based on your skin type and concerns.
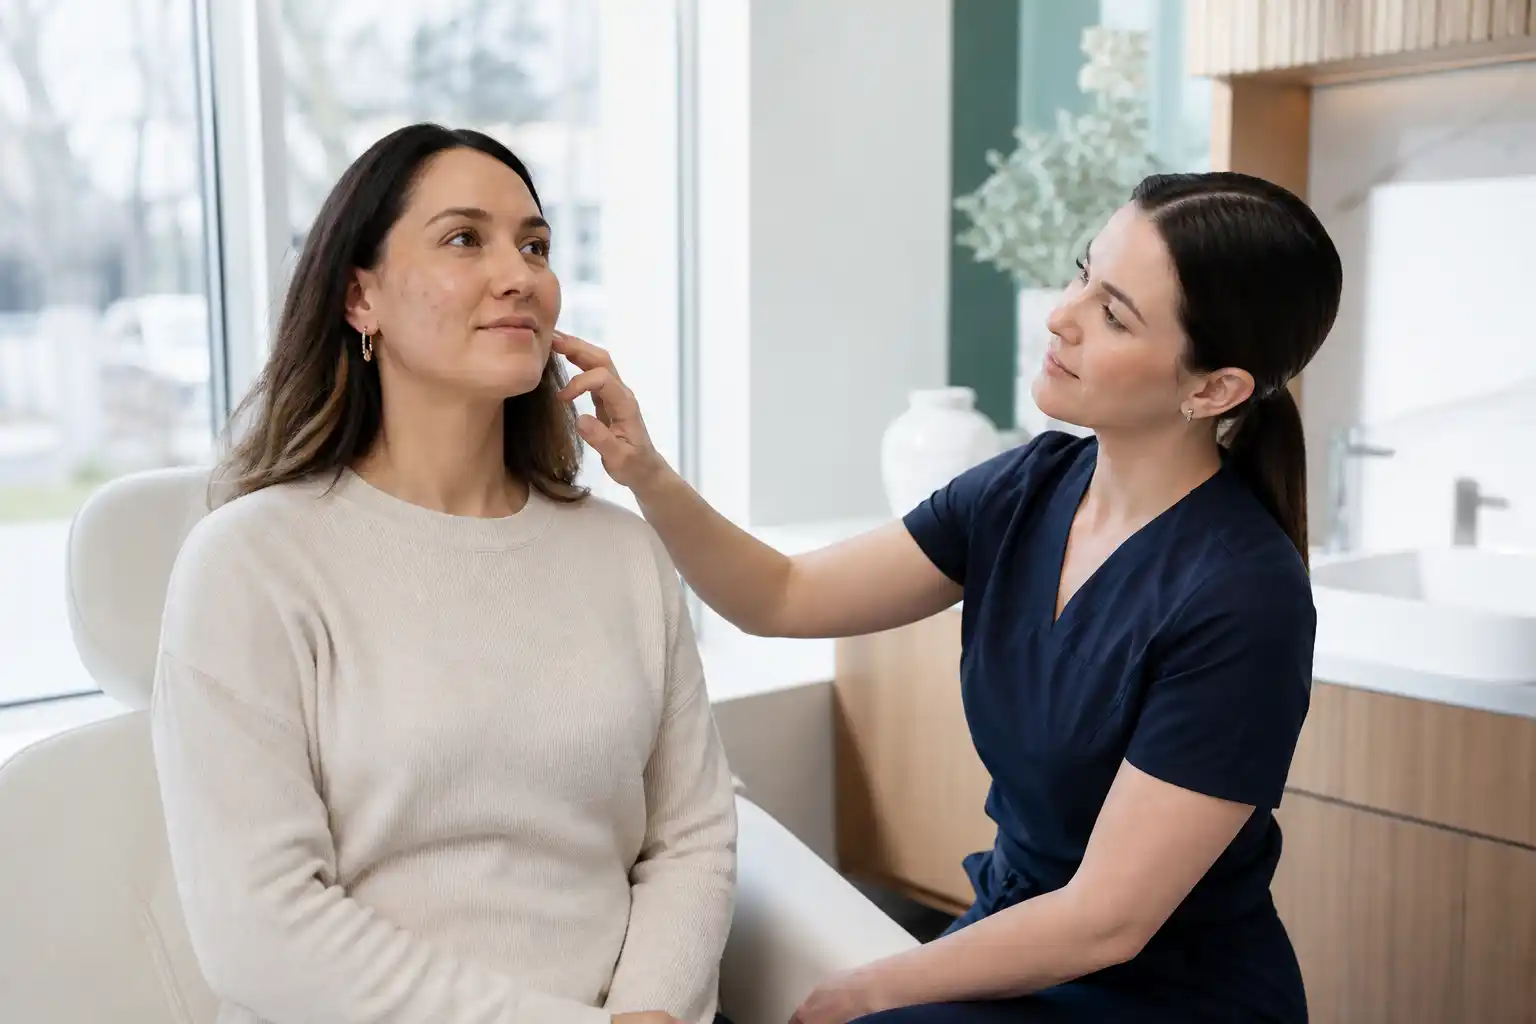
Who Microneedling Is Best For And When To Avoid It
Microneedling is suitable for many adults who want to improve the appearance of their skin through natural collagen stimulation. Because it works with your body’s healing response rather than introducing synthetic fillers or removing large amounts of skin, it can be used on a variety of skin types and tones.
Ideal Candidates
Microneedling may be an excellent option if you’re looking to improve:
- Mild to moderate acne scarring
- Fine lines around the eyes and mouth
- Early signs of aging
- Rough or uneven skin texture
- Enlarged pores
- Mild pigmentation concerns
- Dull skin
- Stretch marks
- Certain surgical scars
It is particularly popular among individuals who want gradual, natural-looking skin improvement rather than dramatic overnight changes.
Patients often notice improvements after a single session, but collagen remodelling continues for several months, meaning results typically become more noticeable over time.
When Microneedling May Not Be Appropriate
Despite its safety profile, microneedling isn’t suitable for everyone. Treatment should generally be postponed if you have:
- Active acne breakouts
- Cold sores or herpes simplex outbreaks
- Skin infections
- Open wounds
- Eczema flare-ups
- Psoriasis affecting the treatment area
- Sunburn
- Significant skin irritation
- Recent facial surgery unless cleared by your provider
Certain medical conditions may also require medical clearance before treatment, including:
- Bleeding disorders
- Uncontrolled diabetes
- Autoimmune diseases affecting healing
- Use of blood-thinning medications
- History of keloid scarring
- Active cancer treatment
- Immunosuppressive medications
Individuals who have recently used isotretinoin (Accutane) should discuss appropriate timing with their healthcare provider, as treatment recommendations vary depending on individual circumstances and current clinical guidance.
Pregnant or breastfeeding individuals should also consult their healthcare provider before undergoing cosmetic procedures.
A professional consultation helps determine whether microneedling is appropriate for your skin while identifying any factors that could increase your risk of complications.
How To Prepare For Microneedling Safely
Proper preparation helps reduce irritation, supports healthy healing, and allows your provider to perform the treatment safely:
Schedule A Professional Consultation
Every microneedling journey should begin with a thorough consultation. During this appointment, your provider will assess:
- Your skin concerns
- Medical history
- Current medications
- Previous cosmetic procedures
- Skin type
- Treatment goals
This evaluation allows them to develop a personalized treatment plan and determine whether additional treatments or alternative options may better suit your needs.
Review Your Skincare Products
Certain skincare ingredients can increase skin sensitivity before treatment.
Your provider may recommend temporarily stopping products containing:
- Retinol
- Retinoids
- Prescription acne medications
- Alpha hydroxy acids (AHAs)
- Beta hydroxy acids (BHAs)
- Strong exfoliants
- Benzoyl peroxide
Always follow your provider’s instructions rather than discontinuing prescription medications on your own.
Limit Sun Exposure
Sunburned or excessively tanned skin should never be treated.
For at least several days before your appointment:
- Wear broad-spectrum sunscreen daily
- Avoid intentional tanning
- Wear hats when outdoors
- Minimize prolonged sun exposure
Healthy skin responds more predictably during treatment.
Keep Your Skin Clean
On the day of your appointment, arrive with clean skin free of:
- Makeup
- Heavy moisturizers
- Self-tanner
- Sunscreen (unless instructed otherwise)
This allows your provider to properly disinfect the treatment area before beginning.
Understand Numbing Cream
Many professional microneedling treatments involve applying a topical numbing cream approximately 20-45 minutes before the procedure.
The numbing cream significantly reduces discomfort, although you may still feel:
- Mild pressure
- Light scratching sensations
- Occasional warmth
- Increased sensitivity around thinner areas like the forehead or upper lip
Most patients describe the procedure as very tolerable.
Sanitation Matters
Professional microneedling should always be performed using:
- Sterile, single-use needle cartridges
- Medical-grade disinfectants
- Proper infection control procedures
- Clean treatment environments
Never share at-home microneedling devices with others, and avoid using damaged or dull needle cartridges.
Stay Hydrated
Healthy, hydrated skin generally recovers more efficiently.
In the days leading up to treatment:
- Drink adequate water
- Moisturize consistently
- Avoid excessive alcohol consumption
- Prioritize good sleep
While hydration won’t change the treatment itself, it supports your body’s natural healing process afterward.
Set Realistic Expectations
Microneedling is not a one-time miracle treatment.
Although some patients notice brighter, smoother skin within the first week, collagen production takes time. Most treatment plans involve three to six sessions spaced several weeks apart, depending on your skin concerns.
Once your skin has been properly assessed and prepared, the microneedling procedure itself is relatively quick and straightforward. While each provider may have slight variations in their technique, most professional treatments follow a similar process to ensure consistent, safe, and effective results.
Step 1: Arrival And Skin Assessment
When you arrive for your appointment, your provider will review your medical history, confirm there have been no recent changes to your health or skincare routine, and examine your skin to ensure it is suitable for treatment that day.
They may take clinical photographs to document your starting point and help monitor your progress over multiple sessions.
Step 2: Cleansing The Skin
The treatment area is thoroughly cleansed to remove any traces of makeup, sunscreen, oil, or debris. Your provider will then disinfect the skin using a medical-grade antiseptic solution to minimize the risk of infection.
Clean skin is one of the most important factors in ensuring a safe procedure.
Step 3: Applying A Topical Numbing Cream
For many professional microneedling treatments, a topical numbing cream is applied and left on the skin for approximately 20 to 45 minutes.
While microneedling is generally well tolerated, the numbing cream helps reduce discomfort, particularly in more sensitive areas such as around the eyes, upper lip, forehead, or nose.
Once adequate numbness is achieved, the cream is removed completely before treatment begins.
Step 4: Selecting The Appropriate Needle Depth
Microneedling devices allow practitioners to adjust the needle depth depending on the treatment area and the concern being addressed.
For example, thinner areas of skin generally require shallower needle settings, while thicker skin or certain scars may require greater depths. Your provider will customize the treatment to your individual skin type rather than using the same setting across the entire face.
Selecting the correct needle depth is one of the reasons professional treatments are generally safer and more effective than attempting deeper treatments at home.
Step 5: Beginning The Microneedling Treatment
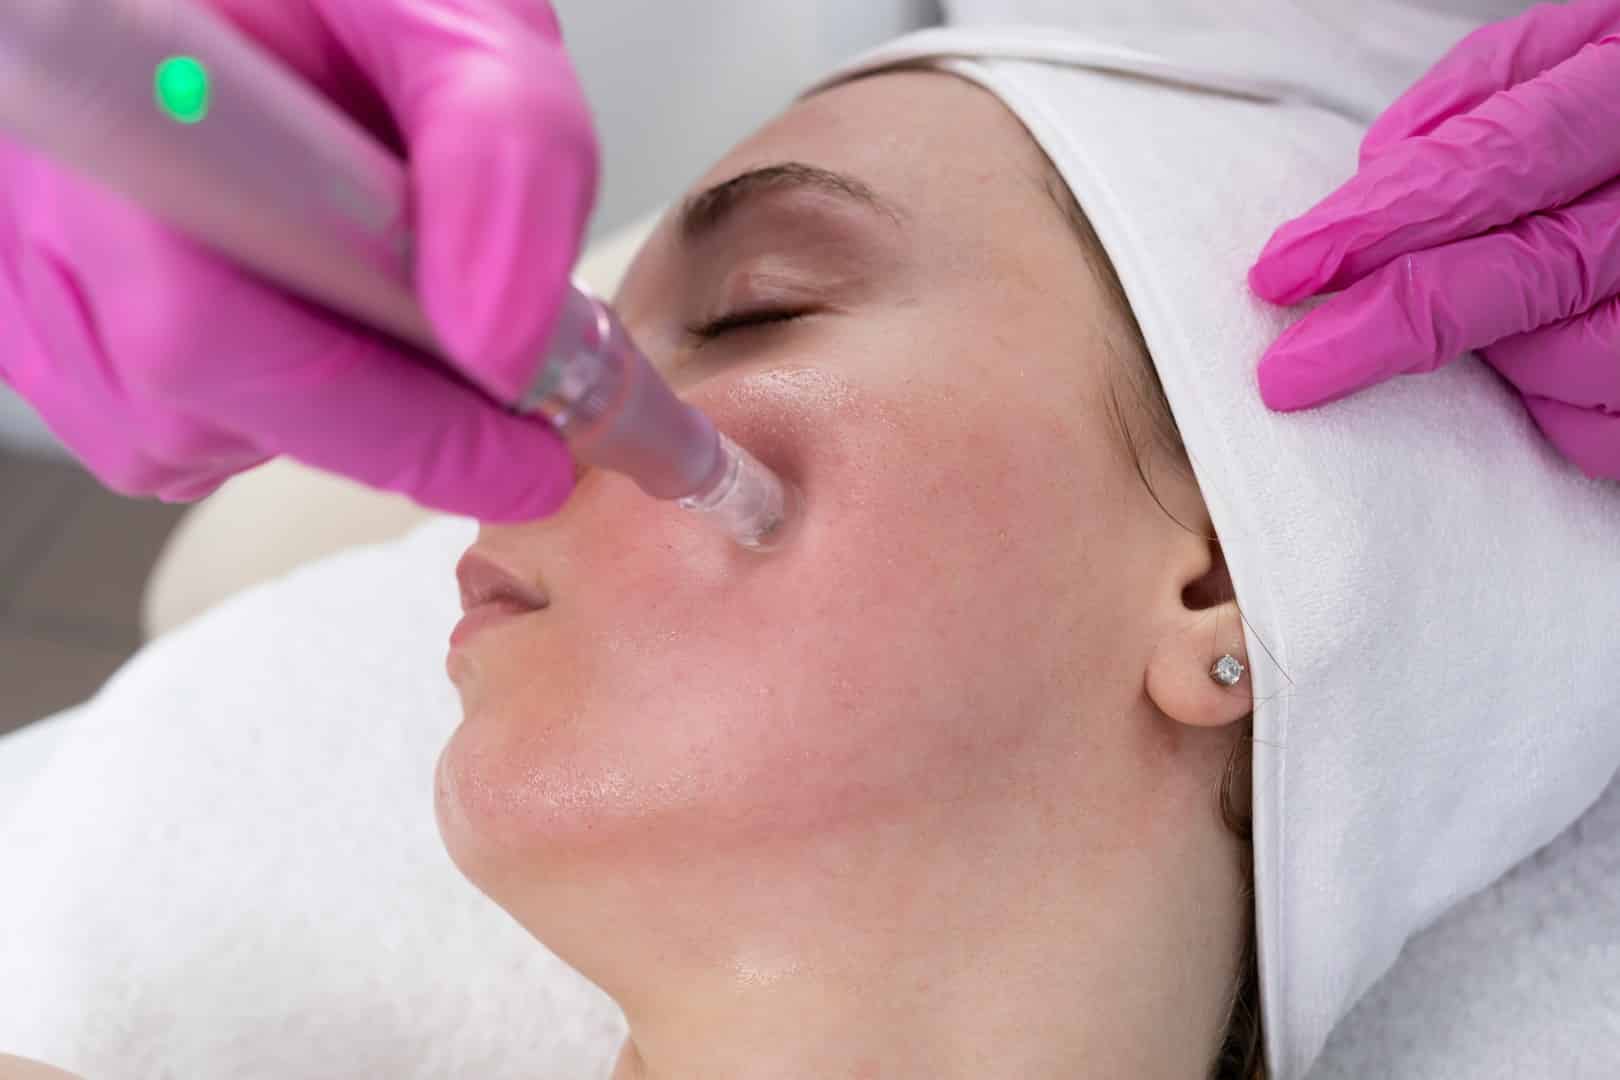
Your provider moves the device across the skin using controlled, overlapping passes to create thousands of microscopic channels. The treatment is typically performed section by section, ensuring even coverage while avoiding unnecessary overlap.
Common treatment areas include:
- Forehead
- Cheeks
- Nose
- Chin
- Jawline
- Neck (when appropriate)
The provider may adjust their technique depending on the area being treated. Delicate areas often require a lighter touch, while thicker areas may tolerate additional passes if clinically appropriate.
Throughout the procedure, your provider monitors your skin’s response and adjusts treatment as needed.
Step 6: What The Treatment Feels Like
Even with numbing cream, you may notice sensations such as:
- Mild scratching
- Gentle vibration
- Slight pressure
- Occasional warmth
- Increased sensitivity over bony areas
Most patients describe the procedure as uncomfortable rather than painful, and discomfort generally remains mild throughout the session.
Professional microneedling devices are designed to create consistent, controlled micro-injuries while minimizing unnecessary trauma to the surrounding tissue.
Step 7: Applying Post-Treatment Products
Once the treatment is complete, your provider may apply soothing products specifically formulated for freshly treated skin.
These commonly include hydrating serums containing ingredients such as hyaluronic acid to support moisture and comfort during the initial healing period.
Because the skin’s protective barrier has been temporarily disrupted, only products recommended by your provider should be applied immediately after treatment.
Step 8: Immediate Post-Treatment Appearance
Immediately after your appointment, it is completely normal for your skin to appear:
- Pink to bright red
- Warm to the touch
- Slightly swollen
- Tight or dry
- Similar to a moderate sunburn
Tiny pinpoint spots of bleeding may occur during treatment, particularly when deeper needle depths are used for scar revision. This is expected and typically resolves quickly.
Most facial treatments take approximately 30 to 60 minutes, excluding numbing time.
Microneedling Aftercare And Recovery Tips
Proper aftercare is just as important as the treatment itself. During the first few days, your skin is actively repairing the microscopic channels created during the procedure, making it more sensitive than usual.
Following your provider’s aftercare instructions can help reduce irritation while supporting optimal collagen production.
The First 24 Hours
During the first day after treatment, your skin may remain:
- Red
- Warm
- Tight
- Mildly swollen
- Sensitive to touch
These effects are temporary and usually begin improving within 24 to 48 hours.
To support healing:
- Leave your skin clean.
- Avoid touching your face unnecessarily.
- Sleep on a clean pillowcase.
- Drink plenty of water.
- Apply only products recommended by your provider.
Use Gentle Skincare
For several days after treatment, keep your skincare routine simple.
Gentle products often include:
- Mild cleanser
- Fragrance-free moisturizer
- Hyaluronic acid serum
- Broad-spectrum sunscreen (once your provider advises)
Avoid introducing new products until your skin has fully recovered.
Protect Your Skin From The Sun
Freshly treated skin is significantly more vulnerable to ultraviolet (UV) damage.
For at least one week:
- Wear sunscreen daily once approved by your provider.
- Wear a wide-brimmed hat outdoors.
- Avoid prolonged sun exposure whenever possible.
Sun protection also helps preserve your long-term collagen results.
Avoid Makeup Initially
Many providers recommend avoiding makeup for at least 24 hours after treatment, or longer if advised. Applying makeup too soon may increase the risk of irritation while the skin barrier is still healing.
When you do resume makeup, use clean brushes and freshly washed applicators.
Skip Intense Exercise And Heat
For approximately 24 to 48 hours, avoid activities that significantly increase body temperature, including:
- Vigorous exercise
- Saunas
- Steam rooms
- Hot tubs
- Hot yoga
- Very hot showers
Excessive heat can prolong redness and increase inflammation.
Normal Healing Timeline
Although everyone’s skin heals differently, a typical recovery timeline looks like this:
Day 1: Redness, warmth, mild swelling, and tightness.
Days 2-3: Redness begins fading. Skin may feel dry or slightly rough.
Days 3-5: Mild flaking or peeling may occur as the skin renews itself.
Week 1: Most visible signs of treatment have resolved, and the skin often appears brighter.
Weeks 4-6: New collagen production becomes more noticeable, with gradual improvements in texture and firmness.
Three to Six Months: Continued collagen remodelling produces progressive improvements, particularly for acne scars and fine lines.
Patience is important, as collagen production continues long after the initial redness has disappeared.
Common Microneedling Mistakes To Avoid
While microneedling is considered safe when performed correctly, several common mistakes can compromise results or increase the risk of complications:
Over-Treating The Skin
More is not always better.
Treating the skin too frequently can interfere with normal healing and increase irritation rather than improving results. Follow the treatment schedule recommended by your provider.
Using The Wrong Needle Length
Longer needles are not automatically more effective.
Professional providers adjust needle depth based on the treatment area, skin thickness, and your specific concerns. Incorrect needle selection can increase discomfort and unnecessary trauma without improving outcomes.
Poor Sanitation
Microneedling creates temporary pathways through the skin, making cleanliness essential.
Never use non-sterile equipment, reuse disposable cartridges, or perform treatment on unclean skin.
Picking Or Scratching The Skin
As your skin heals, mild dryness or flaking is normal.
Avoid picking, scratching, or peeling loose skin, as this may delay healing and increase the risk of pigmentation changes or scarring.
Restarting Active Ingredients Too Soon
Retinoids, exfoliating acids, benzoyl peroxide, and other strong active ingredients should only be reintroduced when your provider advises it is safe.
Starting them too early may cause unnecessary irritation.
Expecting Instant Results
Microneedling stimulates your body’s natural healing process, which takes time.
While many patients notice brighter skin within the first week, improvements in scars, wrinkles, and skin firmness develop gradually over several weeks and months as new collagen forms.
Working with an experienced professional helps ensure treatments are customized appropriately, reducing risks while maximizing long-term results.
Microneedling FAQ
How often should you do microneedling?
Treatment frequency depends on your skin concerns and the depth of treatment. Many patients undergo a series of treatments spaced approximately four to six weeks apart, allowing adequate time for collagen production and skin healing. Your provider will recommend a schedule based on your individual goals.
How long does it take to heal after microneedling?
Most redness and sensitivity improve within 24 to 72 hours, while complete healing of the skin barrier generally occurs over several days. Collagen remodelling continues for weeks to months after each session.
What should you put on your skin after microneedling?
Use only gentle, hydrating products recommended by your provider. Fragrance-free moisturizers and hyaluronic acid serums are commonly recommended to support hydration while the skin heals.
What should you avoid after microneedling?
Avoid direct sun exposure, strenuous exercise, hot tubs, saunas, steam rooms, harsh skincare ingredients, exfoliants, and makeup for the period recommended by your provider. These precautions help reduce irritation and support proper healing.
Can microneedling help with acne scars and fine lines?
Yes. Microneedling is widely used to improve the appearance of acne scars, fine lines, uneven texture, and enlarged pores by stimulating collagen production. While results vary between individuals, most patients notice gradual improvements over several treatments.
Is at-home microneedling as effective as professional treatment?
At-home devices are generally designed with much shorter needles and are intended primarily to enhance skincare product absorption. Professional microneedling uses medical-grade devices with customizable needle depths that can safely stimulate deeper collagen production and address concerns such as acne scars, wrinkles, and skin texture more effectively. For significant skin rejuvenation, professional treatment remains the safest and most predictable option.
Book Professional Microneedling Services At Body Measure Inc.
If you’re ready to improve your skin’s texture, reduce the appearance of acne scars, soften fine lines, or restore a healthier-looking complexion, professional microneedling can help you achieve long-lasting, natural-looking results.
At Body Measure Inc., every treatment begins with a personalized consultation to assess your skin, discuss your goals, and create a treatment plan tailored to your unique needs. Our experienced team uses professional-grade technology and evidence-based techniques to deliver safe, effective treatments while prioritizing your comfort throughout the process.
Whether you’re new to microneedling or looking to continue your skin rejuvenation journey, we’re here to guide you every step of the way. Contact Body Measure Inc. today to schedule your consultation and discover how professional RF microneedling in Winnipeg can help you achieve healthier, smoother, and more radiant skin.
For more information about what we provide at Body Measure, read about body contouring session preparation, body contouring methods comparison, and combined contouring treatment results.

Melina holds a Master of Science in Community Health, and has devoted most of her career to helping older adults live a healthy and vibrant lifestyle. In her role as research coordinator, she saw firsthand how important it was for her clients to know and understand their unique body composition. Melina is a certified obesity counsellor with The World Obesity Association. She has personally lost 100 pounds, and is passionate with helping others reach their healthy weight.